Oozing and Retraction
26. Januar 2012
after some little talks with stoffel i’ve thought about,whats the best way to retract.
whats the actual problem with retract?
the retraction distance is konstant, so we retract these constan even if we have a traveldistance of 5mm or 5m (yes i know 5m are big, but its only to show the problem).
what the most people see what happens on retraction:
1. print normaly
2. retract
3. drive any distance with the extruder
4. re-retract
5. print normaly
what most people see what happens if retraction is not used:
1. print normaly
2. drive any distance with the extruder
3. string happens
4. print normaly
what realy happens on retraction:
1. print normaly
2. retract
3. drive any distance with the extruder, filament in nozzle is heating up constantly
4. re-retract
5. blob happens
6. print normaly
what realy happens without retraction:
1. print normaly
3. drive any distance with the extruder, filament in nozzle is heating up constantly
5. string happens
6. print normaly
thats the reason, why short heating zones doesnt ooze so much.
problem with short heating zones: you cant print fast, because you cant heat up the filament fast enougth.
another little problem, but its irrelevant, because its a very little constant: the heated up filament will blow up a little bit if the pressure is removed.
easy solution:
skeinforge: set a negative retraction restart extra distance.(dimension)
slic3r: set a negative Extra length on restart.(Print settings -> retraction)
but this will just help a little bit and on short distances! If your restart extra distance is to high, your nozzle isnt filled with material and a gap will happen.
better solution:
retract linear relativ to the driven distance. on little distances much better than the standart konstant retraction. doesnt work on great distances!
best solution:
retract logarythmic to the time that the printer need to change its position.
this solution will bring some benefits: no blobs, no strings, no ooze, no re-retraction needed.
and its irrelevant how long you travel ( not realy, because the material will dissolve and crystalyze if its heated up to long, but for retraction it works )
with some material and nozzle parameters added it will be easy to calculate the max. printing speed.
Good tools to have: soldering
22. Januar 2012
Hey… today i will give you a small overview of tools we use to solder.
First important thing:
The solder-station
You dont have to buy such a expensive station where you leave a few hunderd bucks in the store. Search for a small station in the net.
Digital Temperature reading is a must have. Besides it should have a changeable needle and a temperature area up to 400°c.
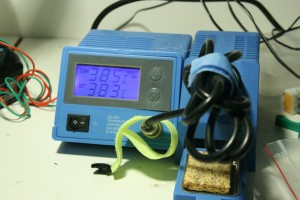
I bought one on ebay for about 40Eur and it works excelent for a year now.
Good Solder Wire:
Buy a good Solder-wire. Dont skimp on it. If you buy cheap solder-wire your results will look cheap too.
Working with cheap solder-wire can be boring, stressfull and annoying. So spend a few bucks on a good roll of solder-wire.
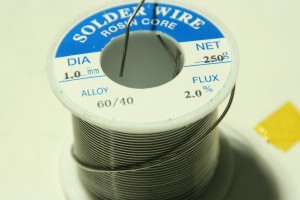
To solder small PCBs you could use a wire with diameter 1 mm. Soldering big parts need a few more. For those cases you should have a thicker piece at home, if you have to solder different things regulary.
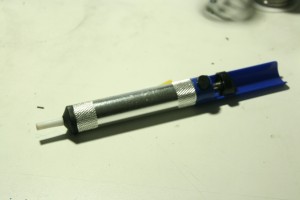
Desoldering pump:
Costs about 5 Eur. But its worthe on weights in gold.
I dont know how often i was glad to have this tool while soldering.
If you see it cheap in a store. Grab It!
Helping hand – stand:
Most of the time i dont use a stand for soldering. But in a few cases its necessary.
Not all the time there is a human helping hand in reach.
A few helping hands have a arm with a loup. Pretty nice for checking soldering points.
Ben
Nozzle Change in under two minutes
12. Januar 2012
Here a small video how i change our nozzle in a few seconds.
Without talking iam maybe a bit faster but look at the video:
Using Material was ABS
Hotend development
7. Januar 2012
Today hotend.. !
no boring stuff… the hotend is really important for the 3dprinter.
The hotend is the mainpart why a 3d-printer with plastic works so well.
First we started 3d-printing or repraping we bought some hotends in different shops, to check out how they work.
Printing PLA was the most of the time no problem. First prints with ABS where horrible.
Firstlayers wasnt really strong. Most of the time we dont get the right temperature.
So we print about a week direct in the trash-can.
At our visit at a big electricparts-shop in our city we found a infrared temperaturemeasure gun about 20-30Eur.
Temperature area -30 to 260°c. Maybe not so accurate, but for measure the hotendend and estimating how hot it is… its enough!
Back at home… spending the hole evening meassuring of all hotends we have. Surprised we see that the most of the hotends dont have the temperature at the outcase that was displayed in the Print-interface.
So we were missing about 20°c to print ABS. >230°c was the temperature we wanted to have. So we set the temperature higher until we see that the ABS-filament comes with good speed out of the nozzle. I think the perfect printtemperature for ABS is right before it gets really liquid. At starting my printer and setting it to temperature, i extrude a small ball of filament and squeeze it between my fingers.
It should be really soft for few seconds and easy to knead. (be careful with that maybe use a thing to test it… and dont burn your fingers… for me its no problem to touch hot things for a few seconds)
For a few days it works pretty well and we tried to print full ABS-sets. After printing 55% of a set the nozzle gets blocked and we throw another set in the trash-can.
Okay no more stupid stuff lets develop our own hotend to learn how it gets better!
In my regular job i am a metal cutting mechanic and so drilling milling and turning of miscellaneous materials is no problem.
For the most parts we decide to use brass, especially for the nozzle.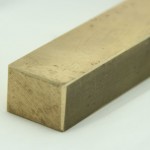
Brass is a wear resistant material. It melds about 900-950°c.
(standart aluminum melds about 600-700°c)
Okay brass ready.. somewhere in the garage..
Next we need something to isolate the hotend from the extruder. Furthermore its important to hold the filament really cool before it comes in the heatzone of the hotend.
This allows to give full pressure on the filament while printing. We tested teflon (polytetrafluretylen-PTFE) as isolator. Temperature area about -20°c to 260°c. For short times up to 300°c
PTFE has high sliding performance. Perfect for the infillarea of the hotend.
Some tests … only waste… doestn work!
Bursted hotends! Melting hotends. Ah i forget.. some table-sets for the trashcan.
Looking in some books from my regular work makes it clear. PTFE has a tensile strengh of 10 N/mm².
So we decide to start some research and find a better material.
Okay looking in the area of high temperature isolators makes my moneybag really sad. We dont want to build a jet turbine…
Hotend.. 3dprinting.. back to topic…
We found a good material as alternative:
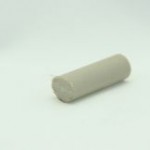 Peek (polyetheretherketon) has a Temperature area about -65 to 260°c.
For short times up to 300°c.
Its resistend against chemicals and the most important:….. tensile strengh of 97 N/mm²
Nine times stronger then the PTFE. Also it got good sliding performance.
With about 35-50Eur for a short piece (D10x500) we were ready to start building our first prototyp:
I will save all the experiments and the fotos of them and will show you some finished work!
Some months ago our mainidea was this: 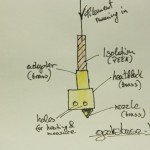
We want to build a hotend which works with PLA and ABS. It must be possible to change the nozzle in a few minutes. Heatthermistor and Heatsensor must be replaceable too. Replacing and dismounting should be easy.
The isolation should be so good, that the filament only melds in the area where the nozzle is. (avoid ouze)
The hotend will be designed for a max. working temperature of 260-280°c, to have some air to the top. To use the new hotend on all of our extruders, we decide to make the isolation with a out-diameter of 10mm. So it should fit on the most extruders.
Lets come to the parts:
Peek – Isolator(adapter to the extruder)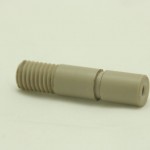
We designed the isolator so that it fits over a thread to the adapter. We make a cut-in to clamp the hole hotend and hold it in position.
For 3mm filament we designed the bore thru this part with a dia of 3.5mm.
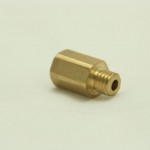
Next part Adapter:
The Adapter is made of Brass. Inside a M10-thread on the outside hexagon for a wrench. So it should be easy to screw them together. The M8-Outside-Thread is for screwing the isolator+adapter into the heatblog. Threads demonstrat no really fullcontact between the parts. So the temperature wont spread so much.
Thats important for the brass but it will save the peek too.
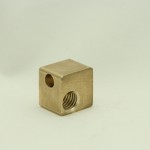
The Heatblock is made of Brass. Inside M8-thread to screw in nozzle + adapter. On the side we drill two holes for thermistor and the heat-resistor. So you have access to them the hole time, if anything needs to be replaced.
The Heatblock is a bit bigger. So it could buffer and compensate some temperature
Last part but the most important… the nozzle: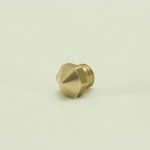
Made of brass.. i think you guess so! One side have got the M8-outside-thread on the other side its turned to a pointed surface. Inside we made a 3mm bore. We drill the 3mm bore so deep that only 1mm material left.
So the material will compressed in this area and only have to get thru the 0.35mm big and 1mm long nozzle. After a lot changes we decide that that works the best!
Now the assembled hotend: on the right ready to use with thermistor and resistor
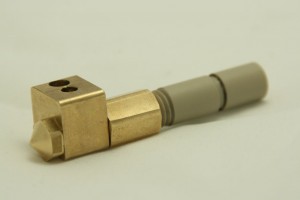
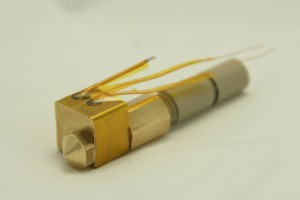
![]()
We tried to drill different nozzles.With 0.5 – 0.35 – 0.25 we got great results in PLA and ABS.
The isolation works nearly perfect. In some cases we try to isolate the hole hotend with a surrounding of capton and mineral wool.
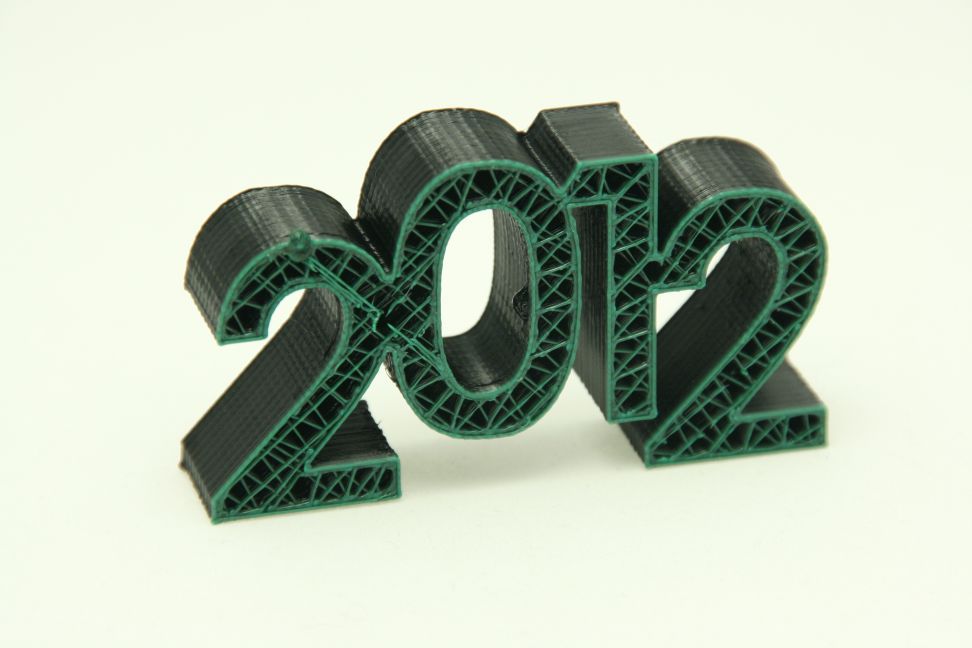
Lets come to some results of printing:
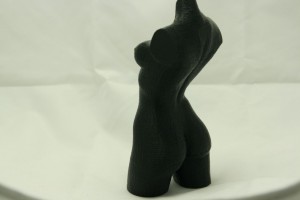
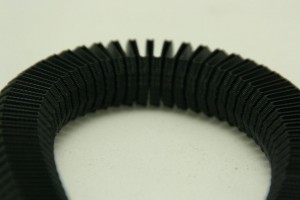
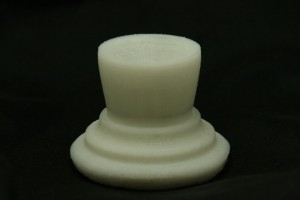
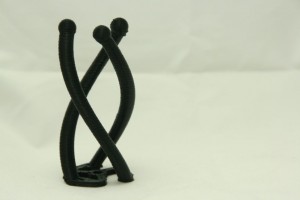
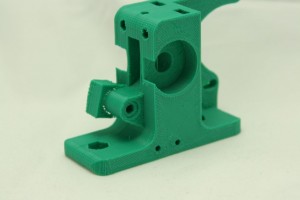
All printed with 0.35 nozzle ABS black, white or green:
Be warned in the next days i will update this post and will ad some drawings and more information about our new Hotend.
We called it: geeksbase – hotend v 1.0
Feel free to leave some comments.. !
Happy New Year 2012
1. Januar 2012
Hello geeks and a HAPPY NEW YEAR 2012!
This Year we have big plans and the first is, that our blog-information will be post in german and english!
**german**
Hallo geeks und ein Frohes neues Jahr 2012!
Dieses Jahr starten wir mit großen Plänen und der erste ist, das unser Blog in Zukunft zweisprachig läuft.
Grundlegend wir das meiste in englisch gepostet und eine Übersetzung folgt dann.

